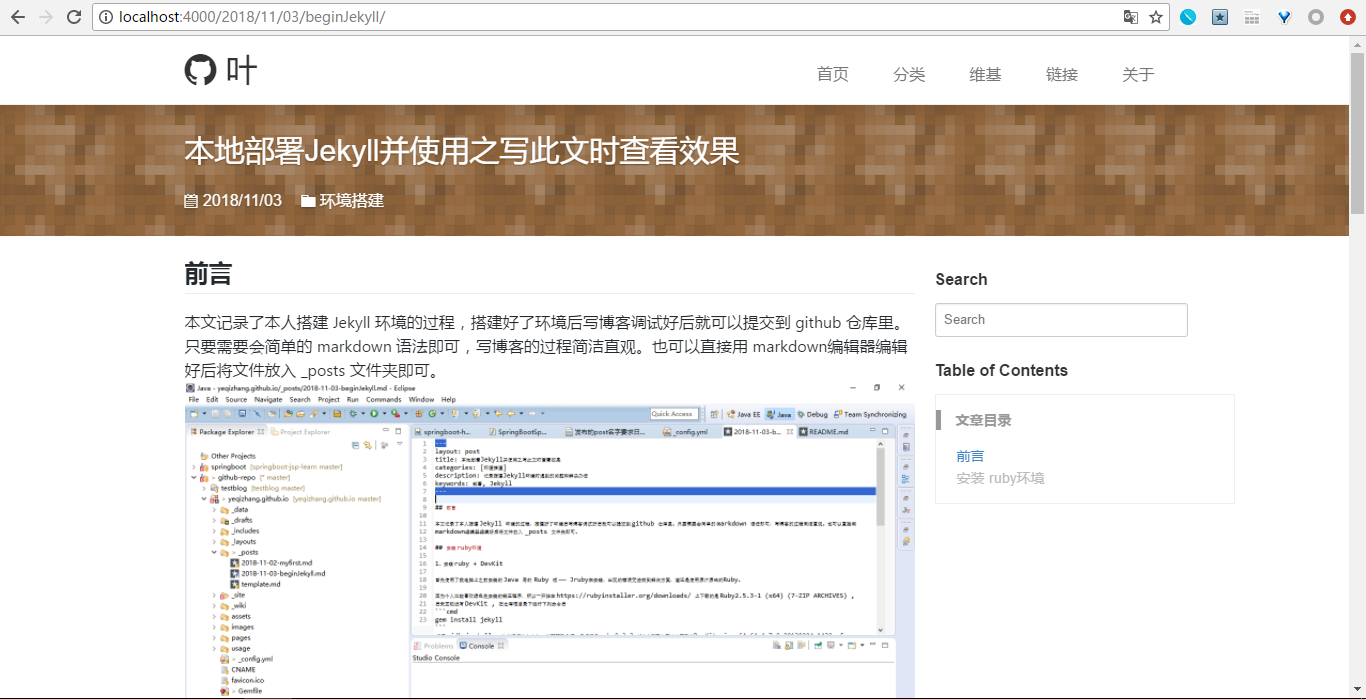
前言
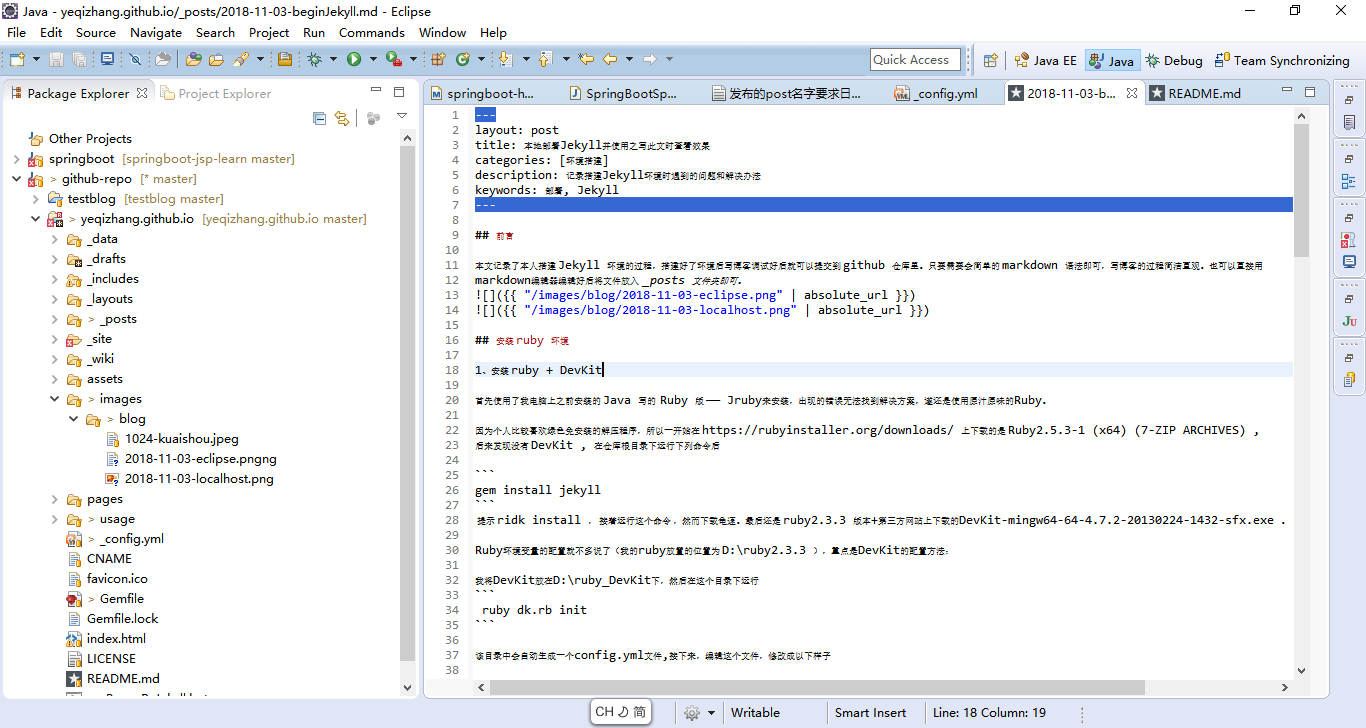
本文记录了搭建 Jekyll 环境的过程,搭建好了环境后可以边写博客边调试,好了后就可以提交到 github 仓库里。只要需要会简单的 markdown 语法即可,写博客的过程简洁直观。也可以直接用 markdown编辑器编辑好后将文件放入 _posts 文件夹即可。
安装 ruby 环境
1、安装 ruby + DevKit
首先使用了电脑上之前安装的 Java 写的 Ruby 版 —— Jruby来安装,出现的错误无法找到解决方案,遂还是使用原汁原味的Ruby。
因为个人比较喜欢绿色免安装的解压程序,所以一开始在 https://rubyinstaller.org/downloads/ 上下载的是 Ruby2.5.3-1 (x64) (7-ZIP ARCHIVES) , 后来发现没有 DevKit , 在仓库根目录下运行下列命令后
gem install jekyll
提示 ridk install , 接着运行这个命令 ,然而下载龟速。最后还是 ruby2.3.3 版本+第三方网站上下载的DevKit-mingw64-64-4.7.2-20130224-1432-sfx.exe 。
Ruby环境变量的配置就不多说了(我的ruby放置的位置为 D:\ruby2.3.3 ),重点是DevKit的配置方法:
将DevKit放在D:\ruby_DevKit下,然后在这个目录下运行
ruby dk.rb init
该目录中会自动生成一个config.yml文件,接下来,编辑这个文件,修改成以下样子
# This configuration file contains the absolute path locations of all# installed Rubies to be enhanced to work
with the DevKit. This config# file is generated by the 'ruby dk.rb init' step and may be modified# before
running the 'ruby dk.rb install' step. To include any installed# Rubies that were not automagically discovered,
simply add a line below# the triple hyphens with the absolute path to the Ruby root directory.
#
# Example:
#
# ---
# - C:/ruby19trunk
# - C:/ruby192dev
#
---
- D:\ruby2.3.3
修改完毕后,继续在本目录下键入以下命令即可
ruby dk.rb install
2、更改默认的 source 源
键入命令查看当前以及添加的源(默认可能同时有官方源和淘宝源,淘宝的源可能不正确
gem sources -l
根据结果移除掉所有源,例如移除官方源:
gem sources -r https://rubygems.org/
添加淘宝源
gem sources -a http://gems.ruby-china.com
淘宝的源目前是 com 而不是 org 。
安装 jekyll
1、根据 Gemfile 文件, 使用bundler安装
在 yeqizhang.github.io 仓库根目录执行
bundle install
即可根据 Gemfile 中 “ gem ‘github-pages’, group: :jekyll_plugins “安装 Jekyll。 如果 bundle 没有安装,则需要通过以下命令先安装:
gem install bundler
第一次运行 bundle install 时自动生成 Gemfile.lock 文件。 以后每次运行 bundle install 时,如果 Gemfile 中的条目不变 bundle 就不会再次计算 gem 依赖版本号,直接根据 Gemfile.lock 检查和安装 gem。 如果出现依赖冲突时可以通过 bundle update 更新 Gemfile.lock。
2、 直接运行 gem install jekyll (未验证测试)
遇到的问题
1、运行 jekyll serve 后提示:
/Library/Ruby/Gems/2.3.0/gems/bundler-1.16.1/lib/bundler/runtime.rb:313:in check_for_activated_spec!’:

You have already activated public_suffix 3.0.2, but your Gemfile requires public_suffix 3.0.0.

Prepending bundle exec to your command may solve this. (Gem::LoadError)
解决办法,改成执行
bundle exec jekyll serve
2、 SSL 证书的问题
SSL_connect returned=1 errno=0 state=SSLv3 read server certificate B: certificate verify failed
解决步骤:
1、Downloading the cacert.pem file from http://curl.haxx.se/ca/cacert.pem.

2、Saved that file to D:/RubyCertificates/cacert.pem

Now make ruby aware of your certificate authority bundle by setting SSL_CERT_FILE. To set this in your current command prompt session, type:

set SSL_CERT_FILE=C:\RailsInstaller\cacert.pem
我在根目录下建立了一个批处理命令,可以方便地启动 github pages :
set SSL_CERT_FILE=D:\ruby2.3.3\cacert.pem
bundle exec jekyll serve
这样就可以点击启动博客了。
3、jekyll 的配置文件 _config.yml 中的 gems key 错误
Configuration file: /Users/ishida/git/gipcompany.github.io/_config.yml

Deprecation: The 'gems' configuration option has been renamed to 'plugins'.

Please update your config file accordingly.
上面错误告诉我们’gems’ 已经被命名为 ‘plugins’,可能因为 jekyll 版本的问题,我的配置中”gems” 需要改成 “plugins”
网上看到的文章说:
In jekyll/lib/jekyll/configuration.rb you can find:

def backwards_compatibilize
   ...
   renamed_key "gems", "plugins", config
结语
至此, jekyll 已经安装好了,可以本地部署好我的 Github Pages 了~ 写此篇博文时也学会了怎么插入图片以及说明!!后续考虑不再使用eclipse(启动IDE太麻烦,以及想要 直接使用git来管理而不是在eclipse中)。